
Condenser mics offer a high degree of fidelity and are favored in studio environments. They are active devices that require phantom power, balanced audio cables, and pre-amps in their connection chain—all of these should be included for the correct operation of condenser mics. Conveniently, most audio interfaces provide in-built phantom power and pre-amps, otherwise, external sources are required.
In this article we’ll look at:
- Connecting a condenser mic to an audio interface
- Pre-amps
- Phantom power
- Balanced audio cables
- Combo jacks
- Conclusion
Connecting a condenser mic to an audio interface
Condenser microphones have a high degree of audio sensitivity and fidelity and are widely used in studio recording environments.
They are balanced audio devices that contain active circuitry. They, therefore, require external power to operate.
The external power can be provided directly from an audio interface through a phantom power connection—most modern audio interfaces include this.
Condenser mics—as with all mics that connect to an audio interface—also require a pre-amp. Again, most modern audio interfaces include in-built pre-amps.
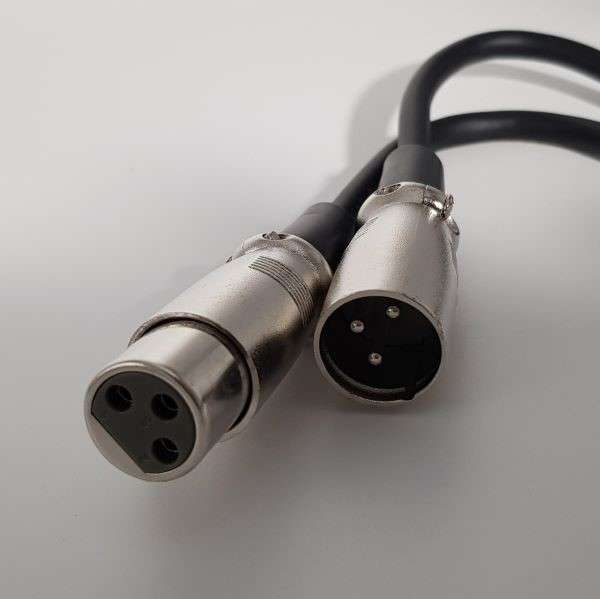
Being balanced devices, condenser mics require balanced audio cables—XLR cables—to connect with audio interfaces.
Let’s assume that:
- You have an audio interface with an in-built pre-amp and phantom power connection
- You have a balanced XLR cable
- Your audio interface is on and is properly connected to the other components of your digital audio workflow (eg. your computer system and DAW).
Then, the process for connecting a condenser mic to an audio interface is as follows:
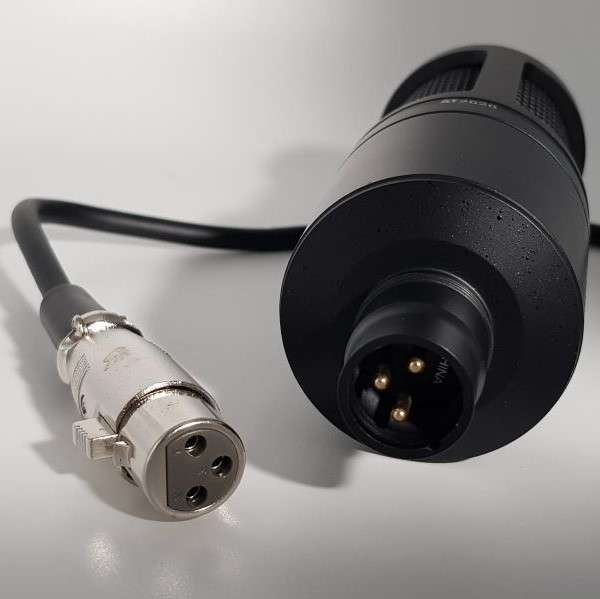
Step 1
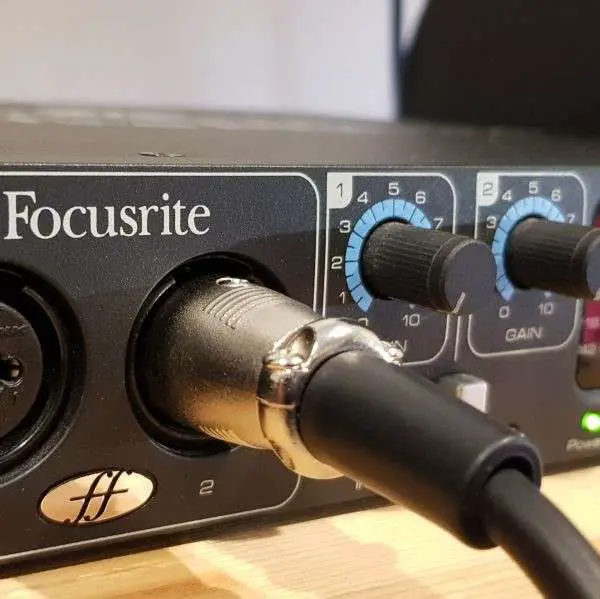
Connect your condenser mic to one end of the XLR cable—the XLR connection jack on the condenser mic is male, so it should connect to the female jack of the XLR cable.
Step 2
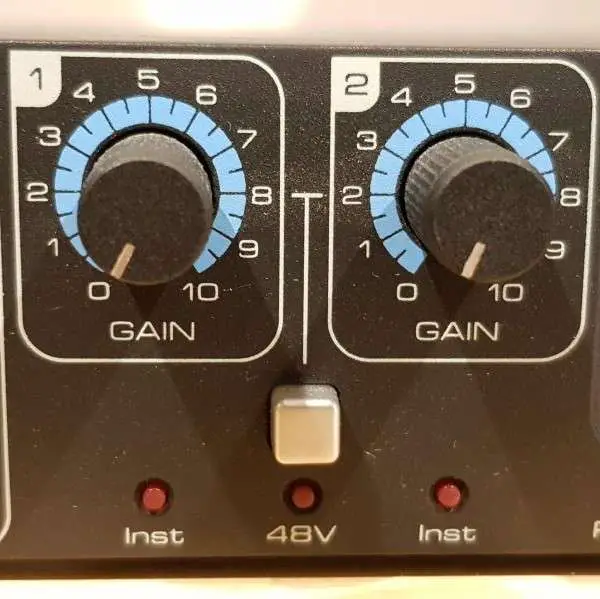
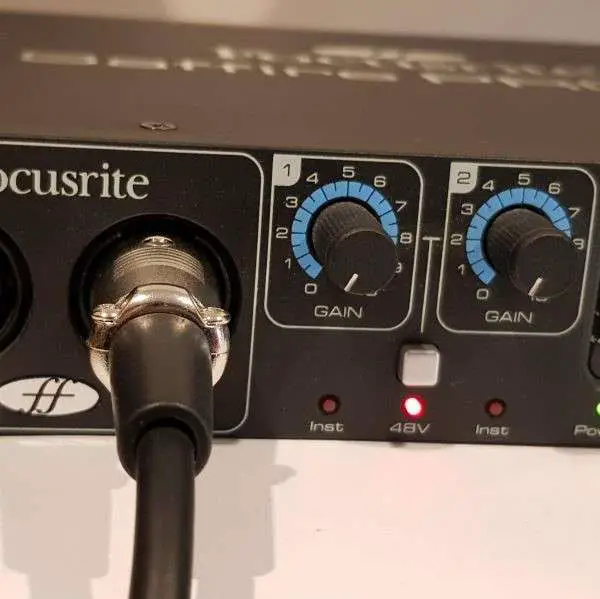
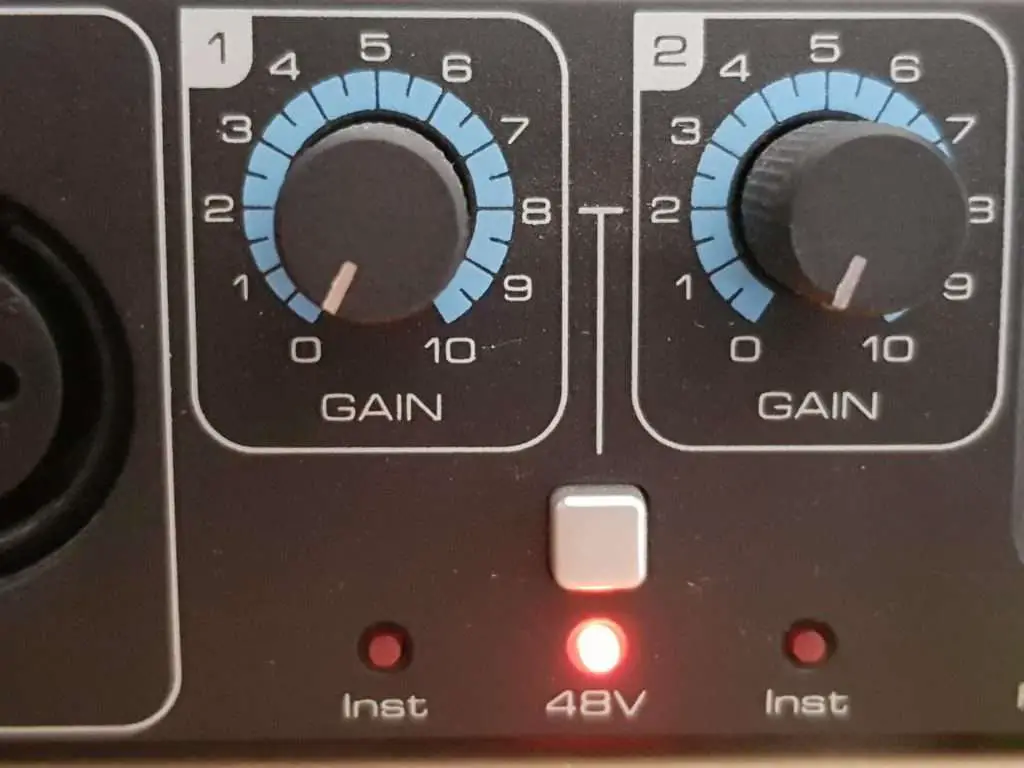
The phantom power switch on an audio interface is usually labeled “48V” or “P48”—ensure that this is switched off.
Step 3
Turn the gain (or “volume”) of the audio interface’s XLR connector to zero.
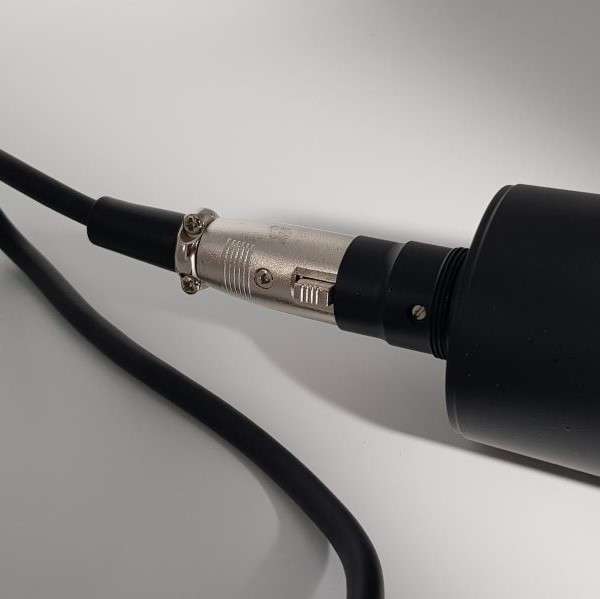
Step 4
Connect the male jack of the XLR cable to the female jack of the audio interface XLR connector (this is usually a combo jack in most audio interfaces).
Step 5
After all these connections are secure, switch on the phantom power and adjust the audio interface’s XLR connector gain to the desired level.
Some audio interfaces may not have a physical switch for phantom power. In these cases, you’ll need to turn the phantom power on and off via the included controller/mixer software.
It’s also worth remembering:
- Don’t include any connections between your mic and its connection to the audio interface—this may either block phantom power or degrade the sound quality
- For similar reasons, don’t connect your mic to a patch bay—connect directly to the XLR mic input on the audio interface
The pictures below illustrate the connection process:


To understand why a condenser mic needs to be connected in the manner described above, let’s take a closer look at the key components of the connection chain: Pre-amps, phantom power, balanced audio cables, and combo jacks.
Pre-amps
Microphones tend to produce very low signal output levels and these are not strong enough to connect to other components in an audio workflow. Hence, these output signals need to be amplified to a level that can work with other audio devices—this level is usually referred to as a line level.
Pre-amplifiers (or “pre-amps”) boost microphone signal levels to line levels.
Fortunately, most audio interfaces include in-built pre-amps. If not, then an external pre-amp would be required for using a microphone with an audio interface.
Phantom power
As mentioned, condenser mics contain active circuitry that requires external power. This differs from dynamic mics and most ribbon mics, which are passive devices that do not require external power.
Phantom power is a way of providing the external power that condenser mics need, and again, most modern audio interfaces include a phantom power connection.
Since it’s included within the audio interface, there’s no “visible” power supply involved, and this is why the term “phantom” is used to describe this type of power. It also (usually) has no effect on passive devices, which is another reason for calling this type of power “phantom”.
If phantom power isn’t available in an audio interface, then an external phantom power supply would be necessary for using condenser mics.
But why do condenser mics need phantom power in the first place?
The diaphragm construction of condenser mics—the part that vibrates in response to sound waves—is very thin. This “fragility” helps to provide condenser mics with their high sensitivity and fidelity characteristics.
But the fragility of condenser mic diaphragms means that they produce only tiny currents. Hence, their signal outputs require a phantom power “boost” before connecting to other audio devices.
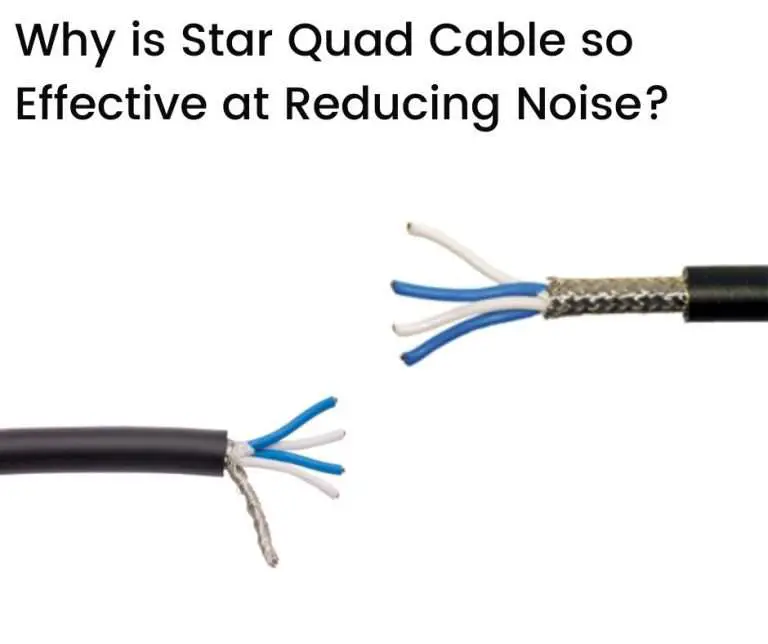
Balanced audio cables
Balanced audio cables contain three conductors (rather than two) and are required for applications that use phantom power.
If phantom power is used with an unbalanced cable (containing two conductors), it could lead to an overload on any connected microphone and may cause serious damage.
Balanced audio cables are also better at minimizing interference than unbalanced cables.
This is because balanced cables contain two signal paths (the other conductor goes to ground) that transmit phase-inverted copies of the original signal.
At the receiving end of a balanced connection (eg. at the audio interface), the phases of the two signals are synchronized and the original signal is restored—any common interference that develops along the signal paths is canceled out in this process.
Unbalanced cables have only one signal transmission path, so any interference that develops is carried to the receiving end without being canceled out.
Combo jacks
Many audio interfaces include combo jacks for connecting microphones. These allow either an XLR cable or a TRS cable to be connected.
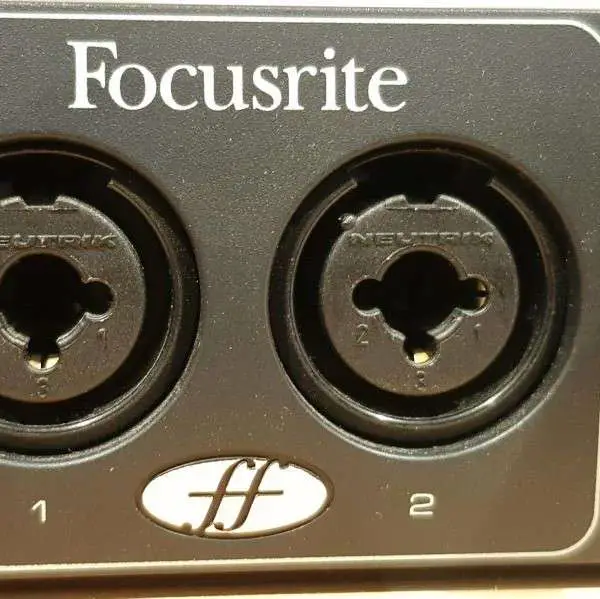
TRS cables are used for instruments or other line sources, but XLR cables should be used for microphones—it’s the XLR connection that provides access to the pre-amp in an audio interface.
Conclusion
Condenser mics are active, balanced audio devices that require external (phantom) power in order to operate.
When connecting a condenser mic to an audio interface, each component in the connection chain has a specific purpose—pre-amps boost the low-level microphone signals to line levels, phantom power activates the tiny currents produced by condenser mics, and balanced cables transmit the phantom power and minimize interference.
It’s important to include the necessary components and follow the correct sequence when connecting a condenser mic to an audio interface. This helps to minimize possible damage and ensure that every component is working properly.